Topics covered in this article:
1. Introduction
2. How new users register using SSO
3. How to migrate users who already have ArchFX Cloud credentials
4. Bulk migration (Engineering only)
1. Introduction
Some companies have a Single Sign On (SSO) solution for authenticating employees to use the company services. ArchFX Cloud can integrate with leading SSO systems on request to simplify user management and onboarding, but this is an optional feature. For companies that selected this option, this document explains how new users can register using SSO and existing users can switch over to authenticating via SSO.
2. How new users register using SSO
When new users register with SSO, they will not be asked to create an ArchFX account. Instead of using the ArchFX Login form (left image), they will be presented a simple button ("MI credentials" in the right image. Note that the actual button label will change depending on your Company settings). This button works for signup as well as login. Some companies however, may require you to be approved on the SSO Provider Server (e.g. you may need to be added to a special access group within Active Directory).

After clicking the button, the user is redirected to the company SSO page (in this example, using Okta as SSO Provider):
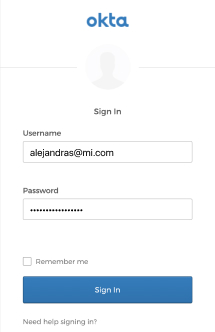
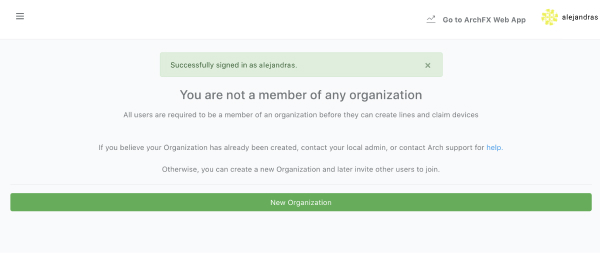
After authenticating with SSO, the user is redirected to ArchFX with their newly-created ArchFX account. Information provided by the company SSO (such as email address and user name) is automatically filled in. If the user was invited to an organization, they will automatically become a member and get access to this organization. Otherwise, they will see a message indicating they are not yet a member of any organization. For each organization that you need access, an organization admin will have to send you an invitation.
3. How to migrate users who already have ArchFX Cloud credentials
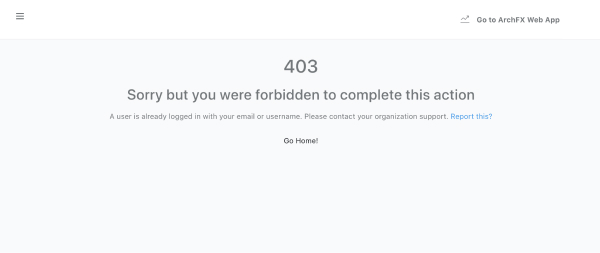
Early in the ArchFX deployments, some users may get access to the tool before SSO is configured. In this case, these users would have manually registered with their own credentials (email and password). In this case, once SSO is configured, these users need to manually login with their own credentials, and create a connection to the SSO system. Otherwise, if they just login with their SSO provider, the system will attempt to create a second account, unless the previous account used the exact same email, in which case, the authentication system will show the following 403 error message, and prevent the user from logging in with their SSO system
In order for this user to enable SSO, they will need to:
3.1 Go to the admin site for the company (typically "company".archfx.io). Log in with their ArchFX credentials (email/password) (click "or log in with an ArchFX account")

3.2 Use the top right menu to go to the User Profile. Click on "My Profile"

3.3 On the left menu, go to "SSO Connections":
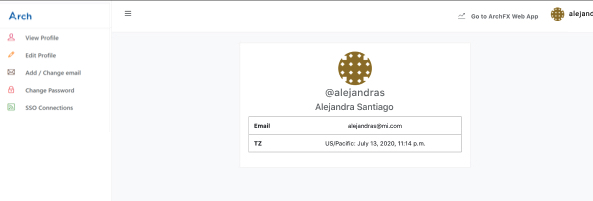
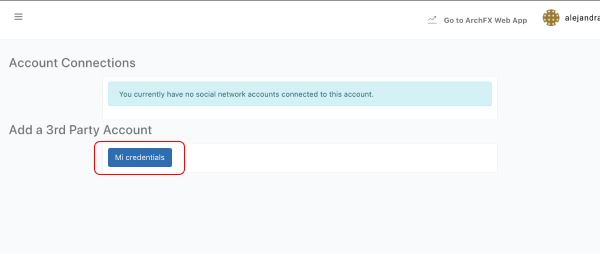
3.4 Under "Add a 3rd Party Account," use the SSO button (using "MI credentials") to apply SSO authentication to this account:
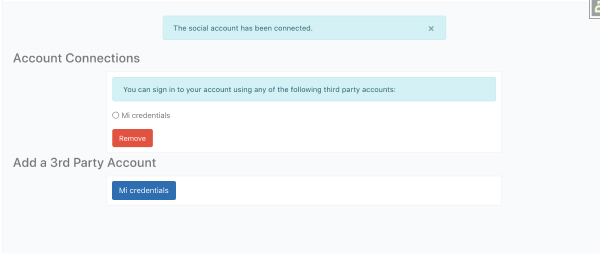
After this, the user will see a success message and a new SSO option under "Account Connections". This means that the user can use the Login with SSO button (MI credentials on Login screen)
Comments
0 comments
Please sign in to leave a comment.